![]()
Inserting or Editing Buttons on the Form
A form typically includes one or more buttons, which let a site visitor submit a completed form.
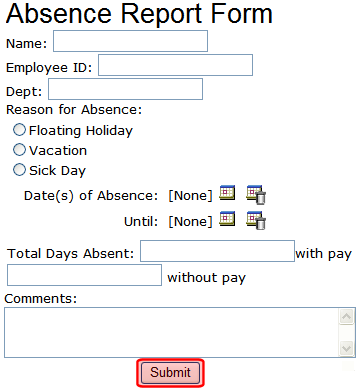
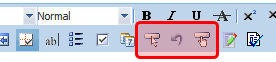
eWebEdit400’s form toolbar has three buttons that you can place on a form (circled below.) The buttons are described below.
|
Toolbar Button |
Name |
Description |
|
|
Insert |
Submits form information to your Web server. By default, it has no text. To learn how to add button text, see Editing a Button’s Properties. |
|
|
Reset |
Changes a form’s field values back to their state when the form first loaded. |
|
|
Submit |
Submits form information to your Web server. Its default text is Submit. |


Editing a Button’s Properties
After you insert a button, you may want to enter or change its properties, such as its text, height, and width. To edit a button’s properties, follow these steps.
1. Click the button so that it is selected. A selected button is surrounded by small squares, as shown below.
2. Below the editor screen, several fields appear, as shown below.
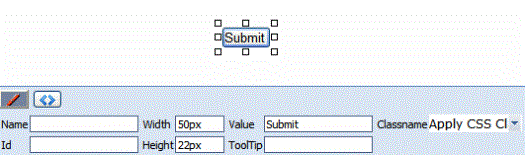
3. Update the button fields as needed.
|
Field |
Description |
|
Name |
Give the button a unique name. |
|
Id |
If needed, give the button a unique ID. |
|
Width |
Enter or change the button’s width in pixels. |
|
Height |
Enter or change the button’s height in pixels. |
|
Value |
Enter or change the button text. |
|
Tooltip |
Enter or change the button’s tooltip (that is, text that appears in a small window when someone hovers the mouse over the button). |
|
Classname |
Enter or change the style sheet class assigned to the button. |


![]()